Gameplay
In "Outlander Rush," players have one primary objective: defend their base from waves of enemies that spawn sequentially and attempt to attack the player's base. In the first wave, players must eliminate 10 normal ground-type robots. As the game progresses, the second wave introduces robots with faster movement speed, increasing the challenge. The winning condition for each level is to defeat all the enemies that spawn. If the player successfully stops 20 enemies in the first level of the prototype, they win. However, if the player's health reaches zero, it means the enemies have successfully breached the base, and the player loses the game.
Game Rules
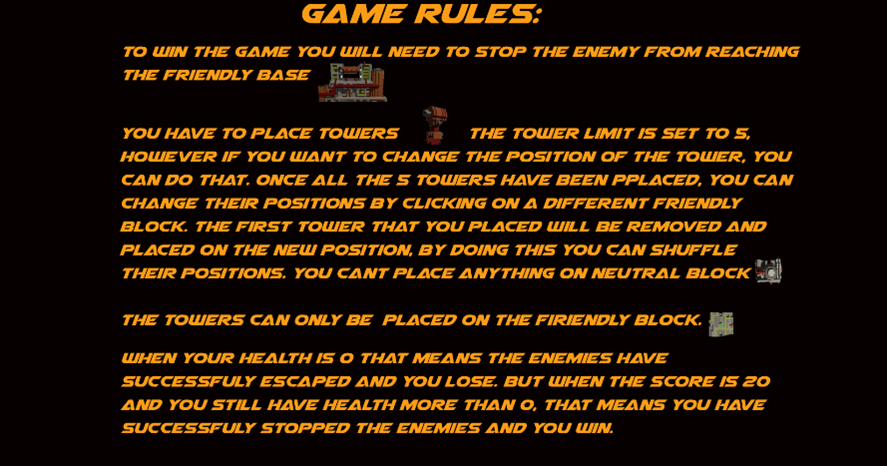
•The player can place a maximum of 5 towers.
•If the player's health reaches 0, it results in game over.
•The enemy path is fixed, and players cannot place towers along the enemy's route.
•The player has the ability to move their towers during gameplay.
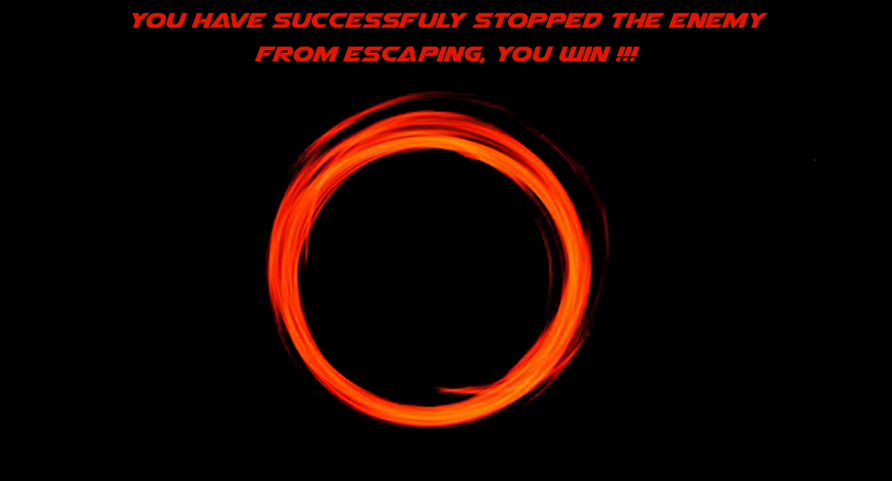
•If 20 enemies are spawned and the player still has health remaining, it means the player has successfully stopped the enemies and won the level.
•If the player's health reaches 0, it results in game over.
•The enemy path is fixed, and players cannot place towers along the enemy's route.
•The player has the ability to move their towers during gameplay.
•If 20 enemies are spawned and the player still has health remaining, it means the player has successfully stopped the enemies and won the level.
Level Design
For this game, until this point, there is only one level, and the game is a prototype. Therefore, it has a limited number of features that have yet to be applied. However, the prototype is playable and fun to play.
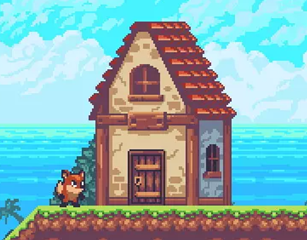
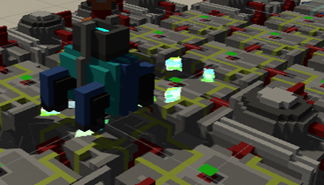
The theme chosen for the game is a robotic sci-fi style with a cartoonish approach, making it enjoyable for players of all age groups.
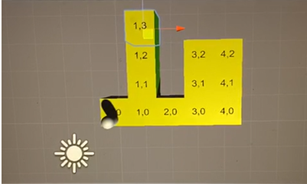
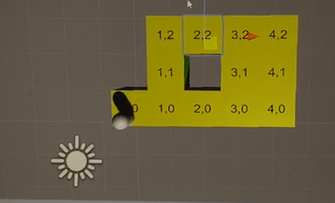
The development began with basic blocks created from quads, and the block.cs script was added to the prefab to utilize the coordinate system, which makes it easier to find the path. Initially, the goal was to check if the pathfinding system was working, so the starting and ending points were set in the serialized field.
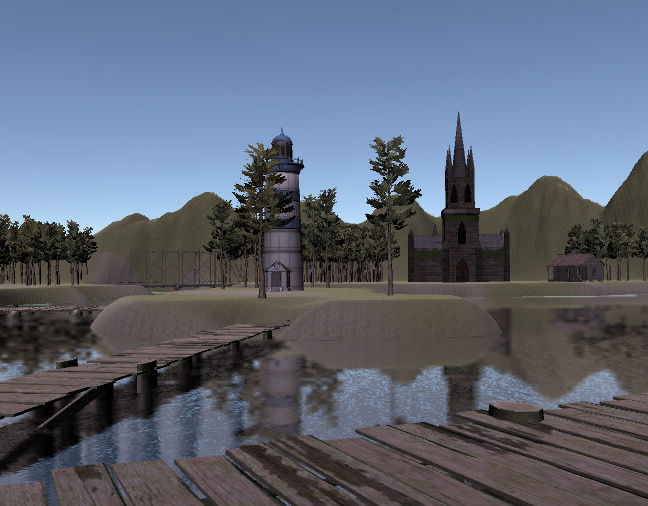
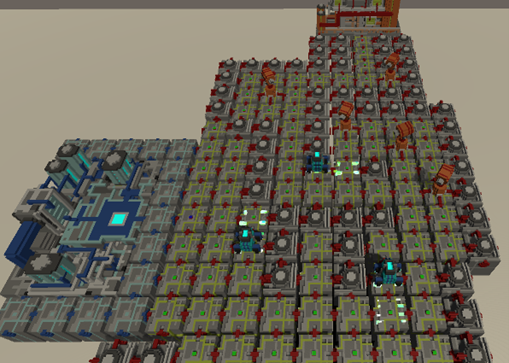
Once pathfinding was confirmed to be functioning correctly, production assets were added to the game. After placing the assets, the scene began to take shape. The level was adjusted, and particle effects were added to the towers, enemies, and actions like enemy destruction or reaching their endpoint.
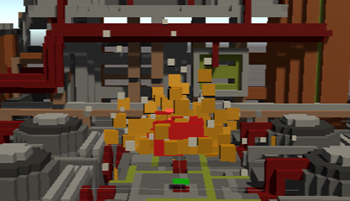
To give the enemy the appearance of hovering, particle effects were placed beneath it, simulating thrust. Similarly, a particle effect was added to the towers to show them shooting at enemies. Additional effects were used when enemies were destroyed or exploded upon reaching the player’s base.
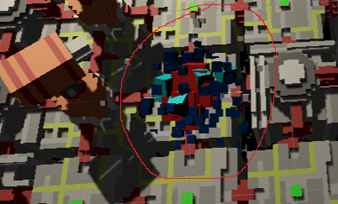
After testing the level multiple times, a pathway was created that would challenge the player without being overly difficult. This final level design was compact but challenging, with few dominant areas where towers could be placed. This design was chosen as the best option for the first level.
Once all assets and effects were in place, the goal was to create a battleground scene where the portal to Earth and the outlanders connected. The humans set up a defense system in this area to prevent enemies from entering Earth. This layout was selected as the optimal design for the first level, offering a good balance of challenge and strategy for the player.


User Interface (UI)
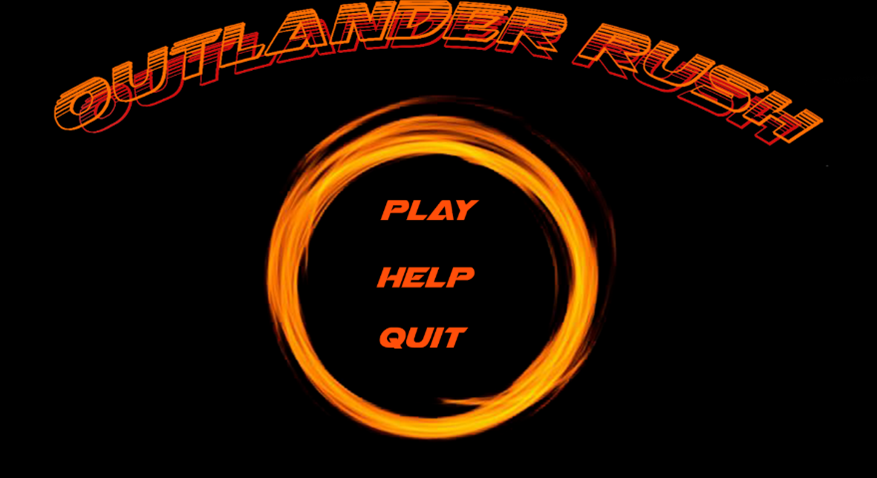
The UI design for the game features orange text, which complements the color scheme of the player base and the pathway. The main menu consists of three buttons: Play, Help, and Quit. Pressing the Play button starts the game, while the Help button leads to another scene that explains the controls for new players. The Quit button closes the game.
When the player presses the ESC key, the pause menu appears. This menu also contains three buttons: Resume, Help, and Quit. Pressing the Resume button resumes the game, the Help button brings up the help UI, and the Quit button returns the player to the main menu.
A separate menu appears when the player loses, triggered when the player’s health reaches 0. This loss menu is blue, aligning with the color of the enemy.
The player wins when 20 enemies have been spawned and the player’s health is still above 0.


Technical Document
In Unity, C# is used as the primary programming language to create scripts, and Visual Studio 2019 is used to build these scripts. Various scripts are utilized to handle different aspects such as pathfinding, enemy spawning, player health, user interface, enemy damage, and tower management. Below is an explanation of one of the key scripts used in the game development.
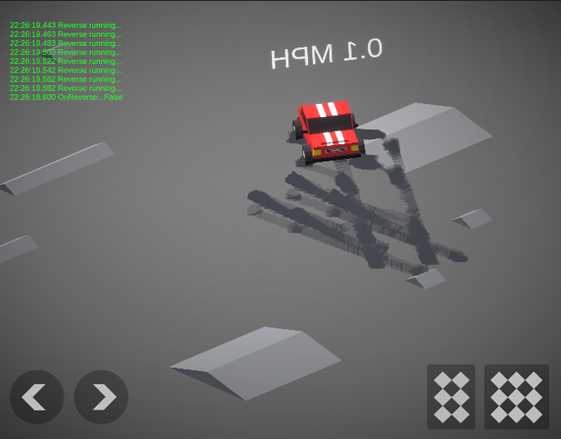
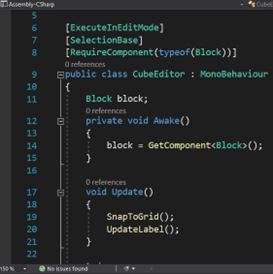
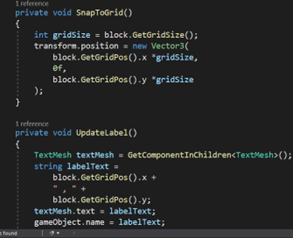
CubeEditor.cs
In the game, the cube plays a crucial role in the AI pathfinding system. The goal of this script is to snap the cube's position programmatically, rather than relying on Unity's built-in snap tools. By enabling this script to execute in edit mode, it is possible to adjust the cube's position directly within the editor. Additionally, the script detects the location of the cube, and this position is displayed in the hierarchy, helping to track its placement. A label with a number appears on top of the cube, which can be used to identify the path for the AI. The decision to avoid Unity’s snap tool was driven by the need for more control and features in positioning the cubes, which the standard Unity snap tool could not provide.
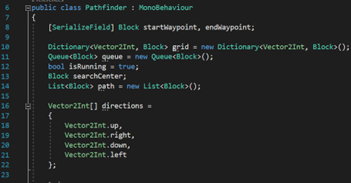
Pathfinder.cs
This script, named "Pathfinder," is designed to enable the AI to find the most efficient route to reach the player’s base. The name itself indicates the core functionality of the script: guiding the AI along the best path. In this case, the Breadth-First Search (BFS) algorithm was chosen for pathfinding. This script is integrated with other scripts already created in the project to ensure that the AI can navigate effectively.
The script starts by obtaining a list of available blocks from Block.cs through the GetPath function. Once the block information is assigned, a new function called CalculatePath is created, which is triggered if the path count equals zero. The path calculation begins by calling the CalculatePath function, which in turn invokes three sub-functions: LoadBlock, BreadthFirstSearch, and CreatePath.
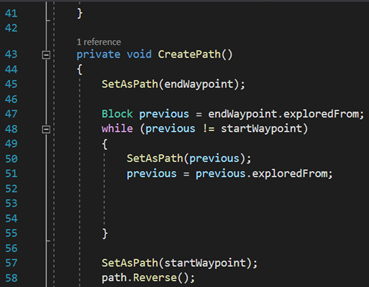
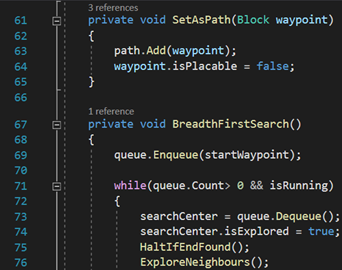
Within the CreatePath function, the endWaypoint and startWaypoint variables are defined. The endWaypoint is assigned a value that determines the nearest point for the enemy, starting from the initial block where the enemy spawns. The startWaypoint indicates the spawn point for the AI, allowing it to know where to begin.
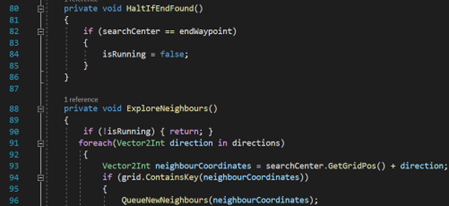
The BreadthFirstSearch function implements a first-in, first-out (FIFO) method using a queue. As the enemy starts from the startWaypoint, it is queued and then enqueued, following the BFS logic. The script checks whether the queue size is greater than zero and, if so, sets the isRunning variable to true. When the AI reaches the destination, the HaltIfEndFound function is invoked, which stops the AI’s movement.
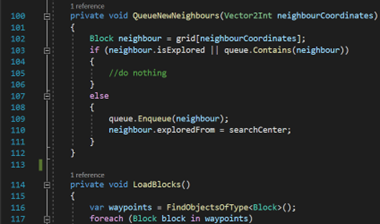
If the AI has not yet reached the endpoint, the ExploreNeighbours function is called. This function uses a foreach loop with Vector2Int to examine all directions the AI can move. It uses the neighbourCoordinates function to check potential next blocks. However, finding the next block location is not sufficient on its own, so the QueueNewNeighbours function is implemented. This function queues the next block by finding the grid from the neighbourCoordinates. If the block has already been explored or if it is already in the queue, the script ignores it and continues searching for the next valid block. The valid block is then enqueued, and the AI continues forward.
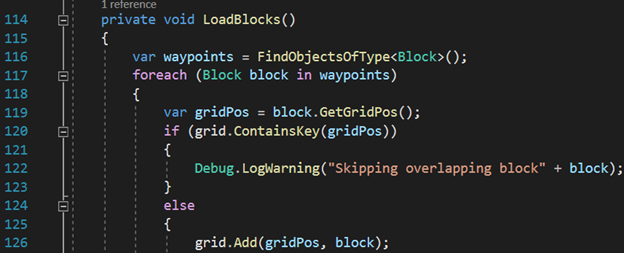
Finally, the LoadBlocks function assigns values to waypoints using FindObjectsOfType<Block>. This function iterates through the blocks to determine which blocks can be part of the path and which cannot.
In summary, this script aims to ensure that the AI or enemy can find the nearest route to the player’s base, while adhering to the rules of the game’s level design. The AI is restricted to moving along specific blocks designated as pathable, preventing it from bypassing obstacles and ensuring that it navigates the grid based on the defined rules.

Conclusion
So far, the group has demonstrated effective teamwork and strong communication, which has allowed the project to be completed on time. This assignment has been instrumental in improving our C# coding skills, our ability to design levels with fun and challenge in mind, and our time management skills. The game has undergone multiple rounds of testing, and we have been fortunate enough to identify very few bugs.
For the design, we decided to use Unity assets for most of the objects in the game, though we created some models ourselves, such as the UI background and the drone prototype. In conclusion, this assignment has been both enjoyable and challenging, offering an opportunity to apply creativity in game development while also learning how to use Unity effectively.